- Git -

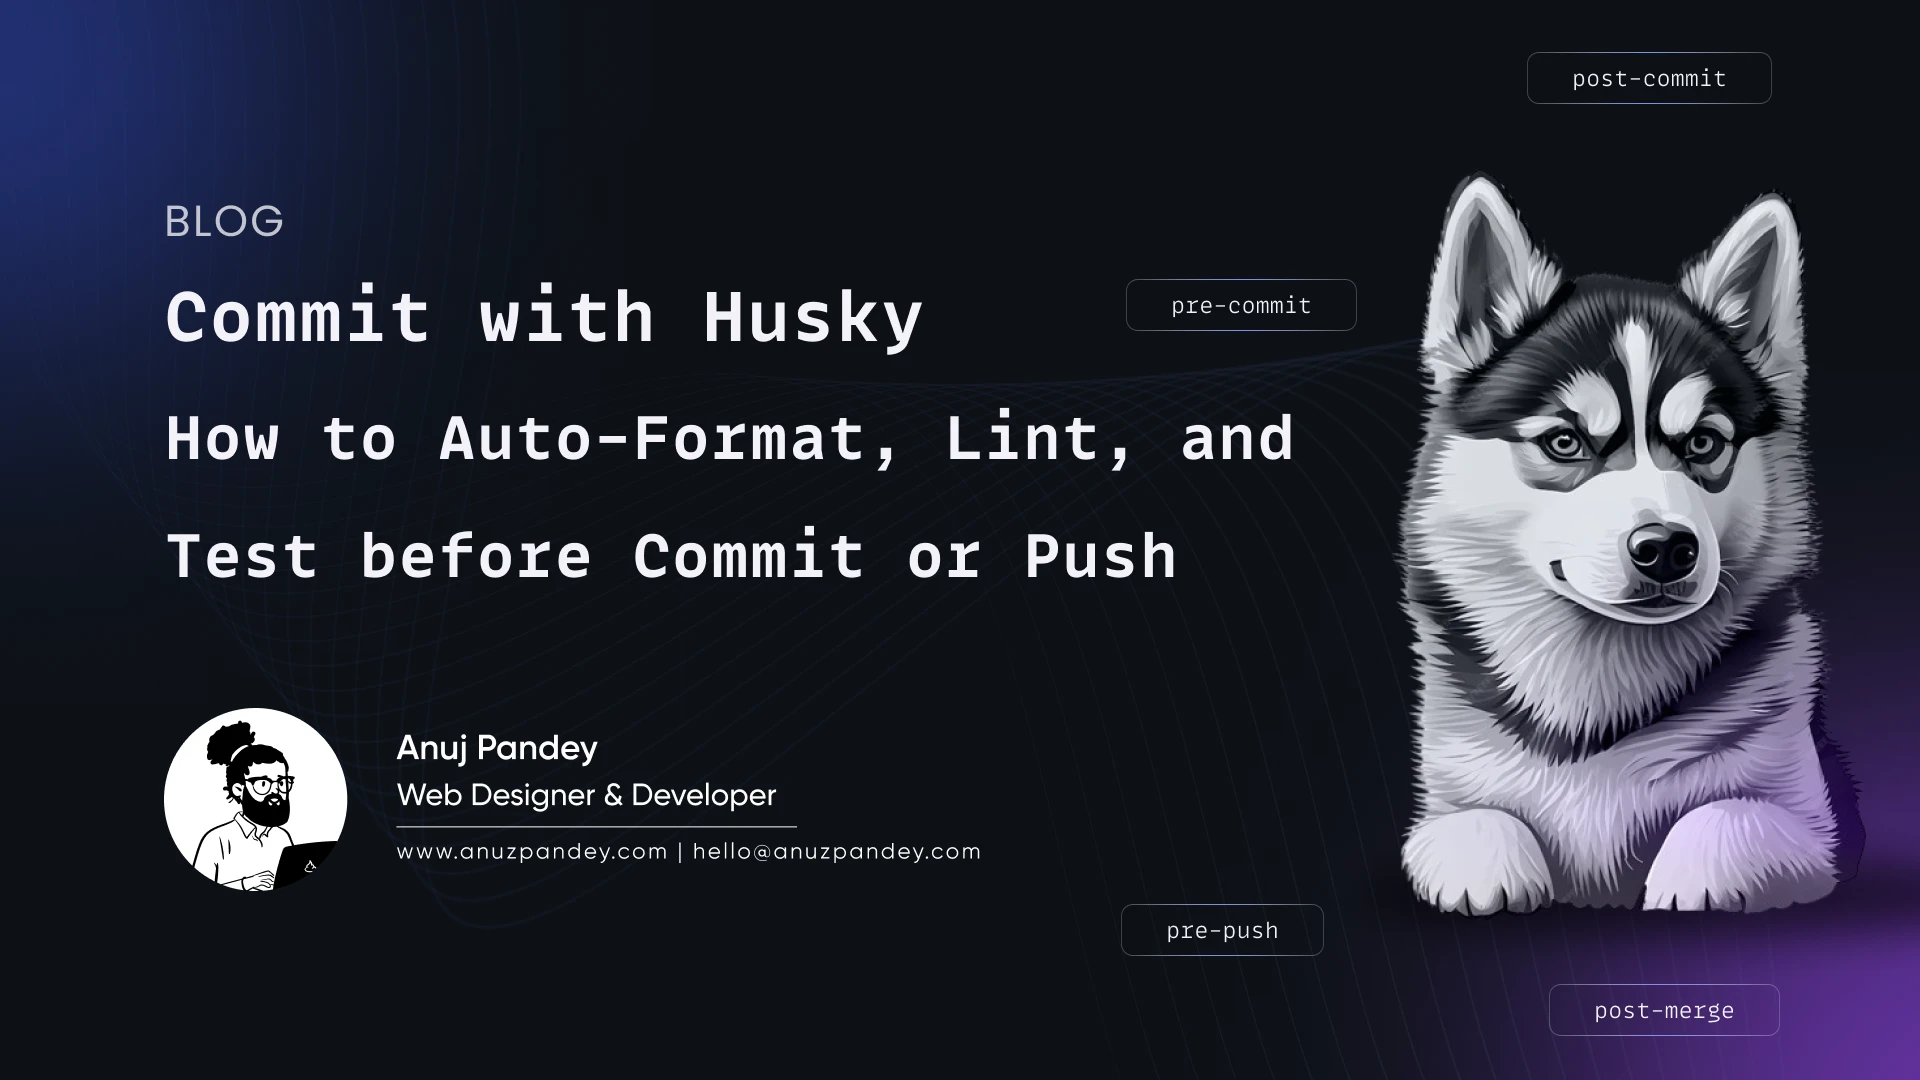
Commit with Husky: How to Auto-Format, Lint, and Test before Commit or Push

|
3 min read
...

As a web developer collaborating in a team, it’s a crucial to maintain code quality and minimize bugs in our project. While continuous integration and deployment(CI/CD) helps is a lot to test our app before deployment to the production, we want to ensure automation runs locally when any developer in our team push the code to the Git.

By using the Husky library, we can setup Git hooks to execute tasks before or after commits and pushes, such as code formatting with lint-staged and running tests in any project. This article demonstrates how to implement these Git hooks to enforce code standards and improve reliability.

There are several command-line tools to enhance out project code quality and maintain the standard. Since I will be using a Laravel Project to demonstrate this, I’ll be using:

  • Pint as a PHP code style fixer: ./vendor/bin/pint
  • Pest as a testing framework: php artisan test

Husky

Husky is a popular npm package, which allows us to set up Git hooks easily in our project, enabling us to automate tasks or enforce certain checks before specific Git actions are executed, such as commits and pushes.

To start using Husky, install it as a dev dependency in your project. I will be using bun to install the package, you can use any package manager to install these dependencies.

  • For these command to run successfully, you project must have Git initialized into your project.

After the installation is done, initialize Husky using the following command:

What this command does is:

  1. Creates a folder in out project’s root directory containing a pre-commit file
  2. Adds prepare script to our package.json file.

This pre-commit file executes before every commit which by default contains just one line:

We can customize this file to execute additional commands tailored to out project’s needs. Let’s adjust the pre-commit file accordingly:

Now, whenever a project is commited, Husky will automatically execute these pre-commit commands.

Note:

  • Your commit will only succeed if the executed commands encounter no errors.
  • If any error were found, the error output will be displayed in the terminal. This allows us to address then, make necessary changes, and commit again.

We have setup a pre-commit hook to fit our needs, but we can create other hooks by adding more files inside the .husky directory. These files must be named accordingly to valid Git Hook Names, such as pre-push, which runs before any push commands are executed.

Run Fixer for only the staged files

When we are making changes to just a few lines or files, it might be overkill to run a code formatter and linter across the entire codebase. Instead, we can run them only on the modified files:

So finally, our pre-commit file will look like this:

Now, when changes are made to app/Http/Controllers/UserController, Husky will only run the Pint command for the UserController and then execute subsequent test with Pest.

Conclusion

So this is it, harnessing the power of Git hooks with Huksy offers developers a streamlined approach to ensure code quality and consistency within their projects.

By automating tasks such as formatting, linting and testing, teams or an individual can catch errors early in the development stage, leading to fewer bugs and smoother collaboration.

Your feedback is valuable to me, so if you'd like to see more content like this in the future, please don't hesitate to let me know. Until next time, Happy coding!

Keep coding, keep exploring, and keep inspiring. 🐼

Written By Anuz Pandey

Anuz Pandey is a multi-disciplinary designer and developer with a passion for creating visually stunning and user-friendly digital experiences. He has been working in the industry for over 5 years. He is currently working as a freelance designer and developer and is available for hire.

Tags

  • git
  • github
  • ssh
  • husky
  • pint
  • pest