Anuz Pandey
Work
About
Resume
Blogs
Snippets
Categories
Open command palette
Toggle Color Scheme
Open navigation menu
Switch theme
Command Palette
Search for a command to run...
Anuz Pandey
Open Full Page Navigation
Portfolio
Resume
About
Blogs
Home
Cheat Sheets
Plugins & Packages
Let's talk
Laravel
Laravel Blade Directives: Authorization
27 December, 2023
|
Anuz Pandey
|
5 min read
Related Articles
Real-World Tips for Using Laravel API Resources
Getting Started with Laravel Pint
Little Known features from Spatie Media Library for Laravel
Why and How to Use Laravel Strict Mode in Your Projects?
Laravel Cloud: Simplifying Laravel Deployment
What are Laravel Pipelines?
Tags
Laravel
Laravel Authorization
Laravel Blade
Laravel Blade Directives
Share
Facebook
Twitter
LinkedIn
WhatsApp
Email
Previous
Next
You may also like
My Other Writings
01 October, 2025
|
Anuz Pandey
|
3 min read
PHP 8.5 Release Preview: New Features and Improvements
26 September, 2025
|
Anuz Pandey
|
3 min read
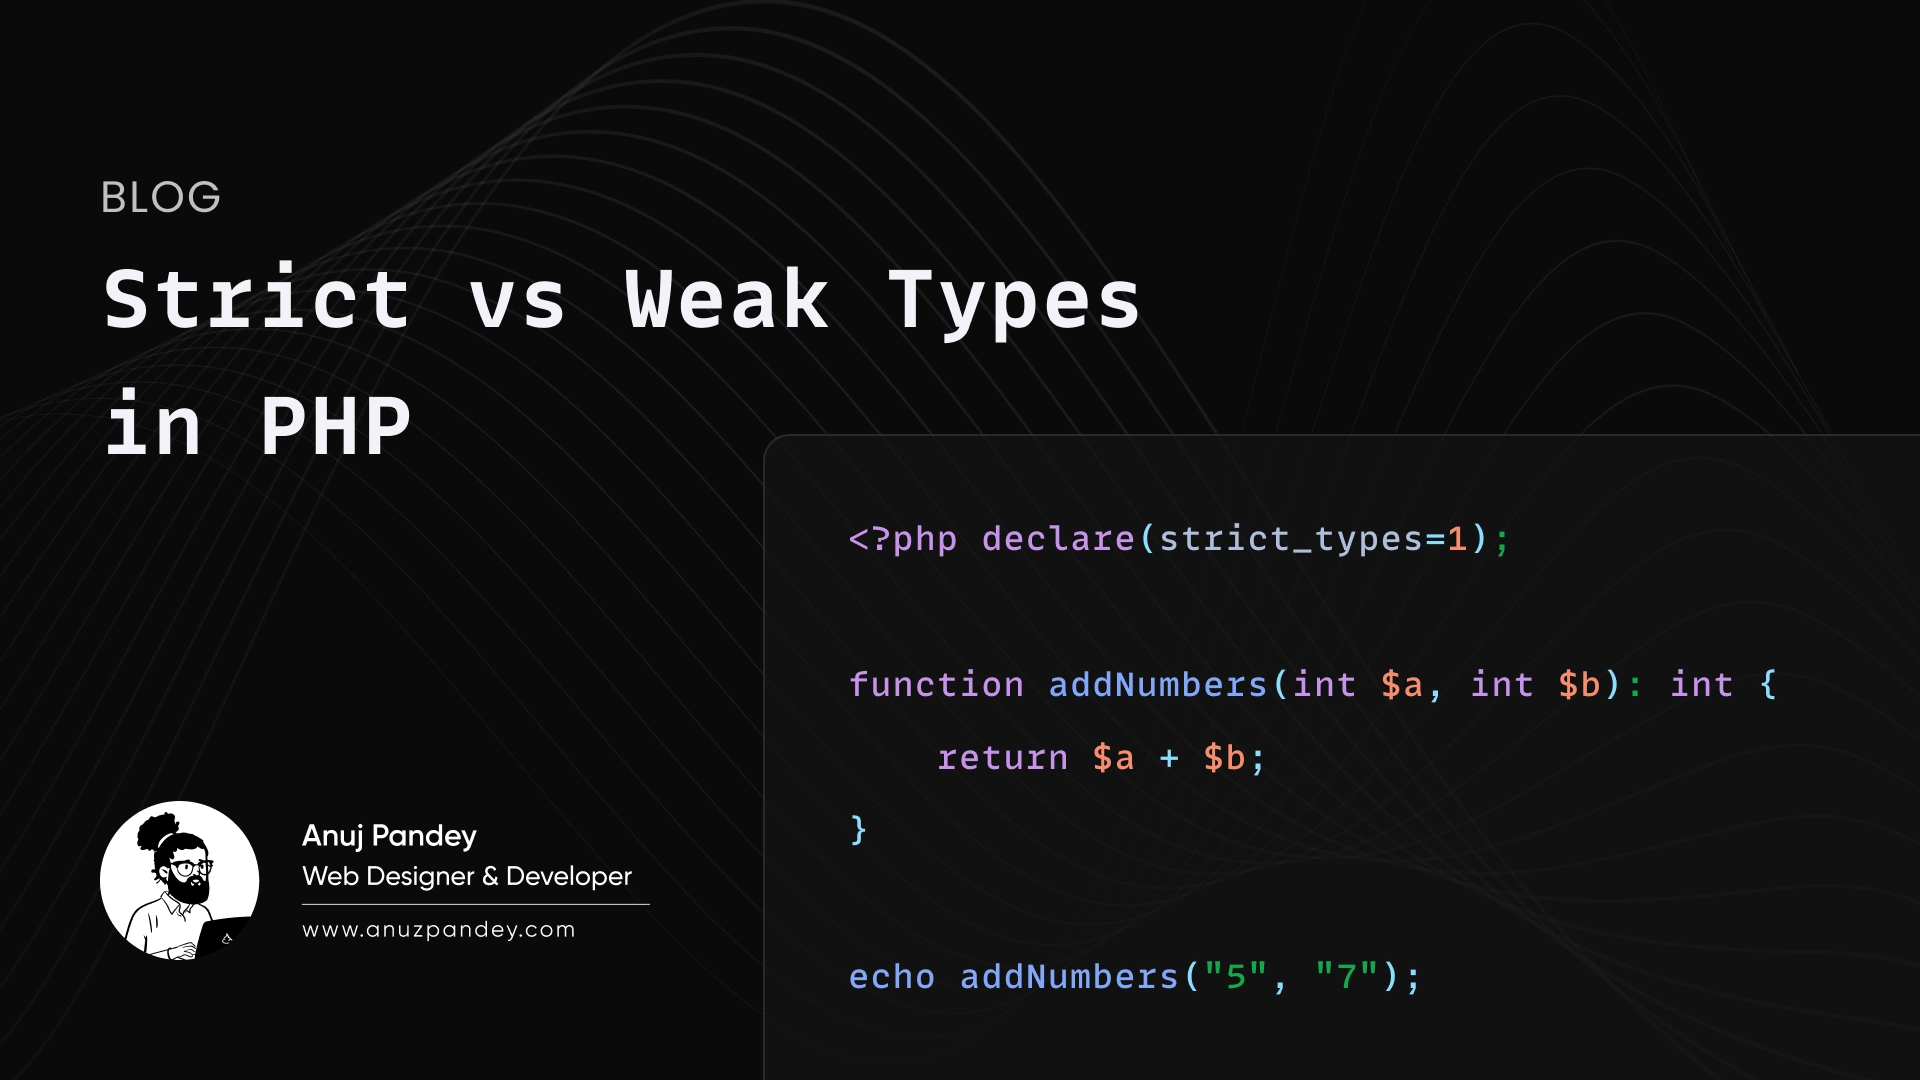
Strict vs Weak Types in PHP
28 February, 2025
|
Anuz Pandey
|
4 min read
How to create animations in Tailwind CSS Projects
26 February, 2025
|
Anuz Pandey
|
4 min read
Real-World Tips for Using Laravel API Resources